HOME / Hardware / OLIVIA-XYZ : Functions
The OLIVIA-XYZ has the following functions available in meeting all the diverse 3D measurement needs.
These functions ensure consistent support from the OLIVIA-XYZ software from preparing to make measurements through to the data processing.
The following must be determined when setting 3D measurement conditions:
- • Position of the measuring instrument
- • Focus and aperture of the measuring instrument
- • Position of the laser
- • Position of the object to be measured
- • Setting of the slider, actuator, and other equipments
- • Setting the measurement parameters (e.g. shutter intervals, exposure time)
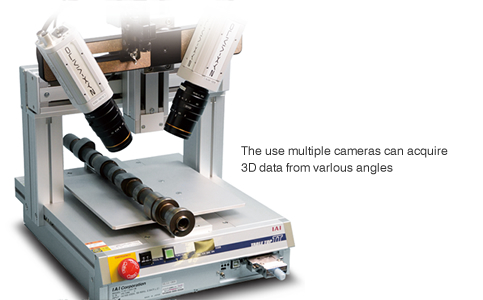
OLIVIA-XYZ enables all these measurement conditions to be set in an intuitive manner.
In addition, taking images with the measurement instrument and displaying them on the screen on a real-time basis allows visual confirmation of the measurement conditions.
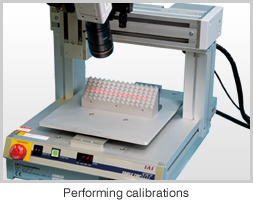
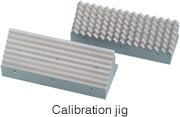
Our unique calibration jig has achieved an easy calibration procedure via simply moving the calibration jig using a slide.
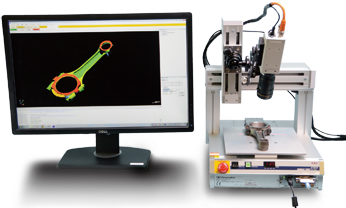
Display of data Methods of display that meet different requirements allow detailed confirmation of the data.

Real-time display of 3D data The acquired data is displayed almost instantaneously with the measurement, thus allowing quick confirmation of the measured data.
During measurements data can be misaligned due to noise, vibrations, or various other factors.
The OLIVIA-XYZ easily corrects any misalignments via its various data correction functions.
Noise impulse removal Automatically recognizes and removes any noise that is momentarily generated by halation or other factors.

Filtering Evens out the measured data.

Profile vibration correction Corrects any gaps in the measured data generated by vibrations during measurements.

Adjusts the positional relationship of measured data and moves them to their correct position.
This allows a plurality of measured data to be handled in a unified manner.

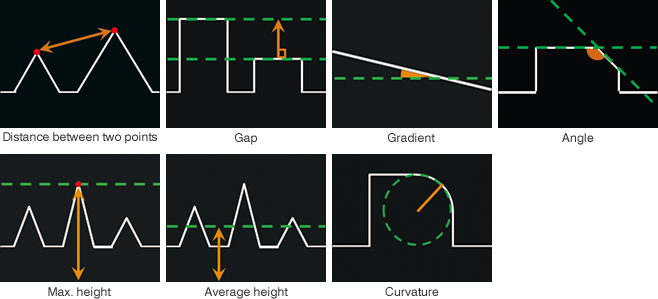
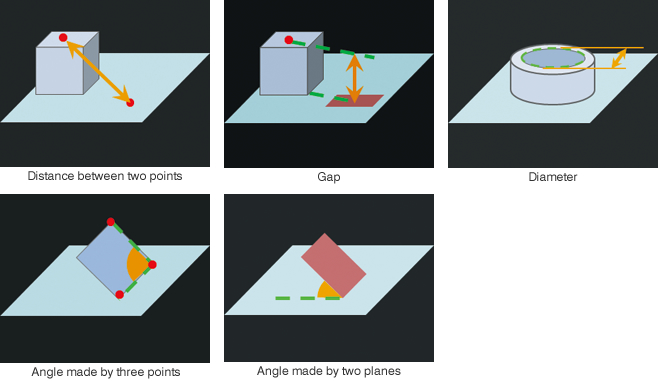
Dimension measurement tools available to satisfy various applications.
This facilitates dimensional measurement of 3D data, which was once difficult with actual objects.
Cross-sections
3D data
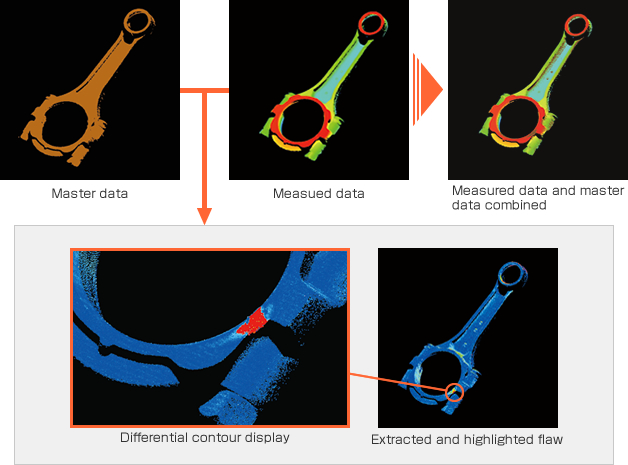
Surface flaws can be quantitatively detected by evaluating the differences between those of the product concerned and those of acceptable products. Any flaws thus detected are highlighted in thereby allowing visual identification of their positions.
This function also allows various types of flaws to be detected according to various judgment conditions, including the length or area of flaws.
Measurement of sink of tailor welded blanks
A function that measures the height of the sink of a tailor welded blank.
The height can be quantitatively measured by measuring the gap between the lowermost and uppermost sections.

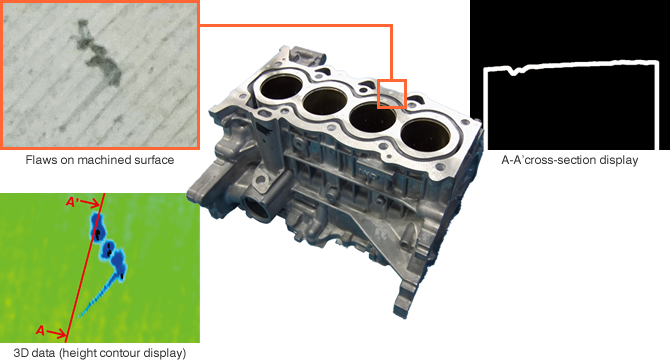
Flaw inspection of the machined surface of engine blocks
A function that measures machined surfaces in thereby detecting any surface flaws or cracks.
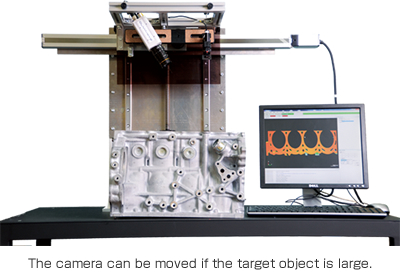
Inspecting a particular section only maintains measurement accuracy even if the target object is large.
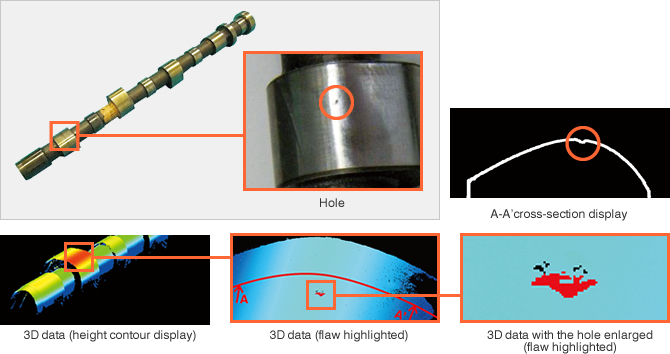
Inspection of camshaft holes
A function that detects any holes on the surface.
Utilizes data processing to remove any surface noise and swell from the measured data and highlights any flaws.
Inspection of gear teeth shapes
A function that allows shape that look like a rotator, such as gears, to be measured by rotating the object.
In addition, the radius of a gear tooth can be easily measured using 3D data, something which is difficult to do with an actual gear.

Inspection on bulb body blow holes
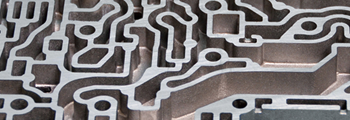
A function that detects blow holes on a bulb body.
Surface flaws and blow holes are extracted by comparing them with acceptable products.

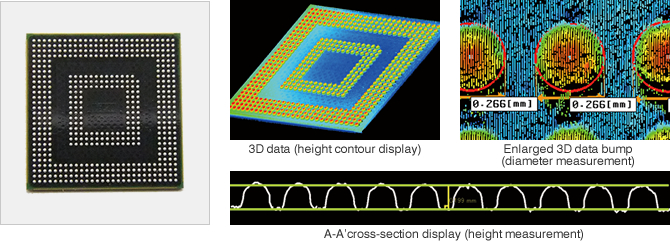
Measurement of bump shapes on BGA packages
A function that measures the dimension of BGA packages.
The diameter, height, or other dimensions of a bump can be measured.
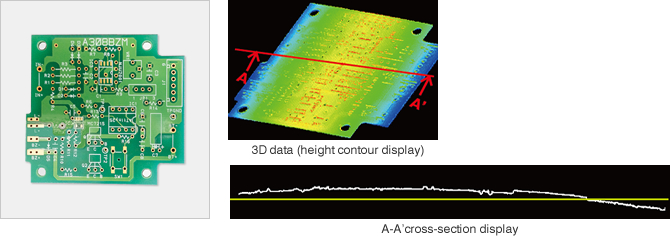
Measurement of PCB coplanarity
A function that measures the coplanarity (warpage) of the entire PCB.
The height contour allows visual identification of bumps or the direction of any warpage.
System overview / Functions / Structure and specifications / Product line-up / Product seminars


