HOME / Hardware / GAPGUN:Feature List
Pre-measurement Preparation
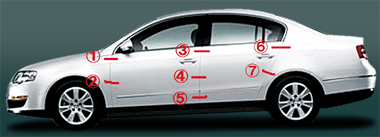
Create a measurement plan on a PC as preparation prior to measurement.
Measurement points, the order of measurements, the type of inspection and tolerance are registered into the measurement plan. When taking measurements in the field, the operator is provided guidance based on this measurement plan.

Measurement
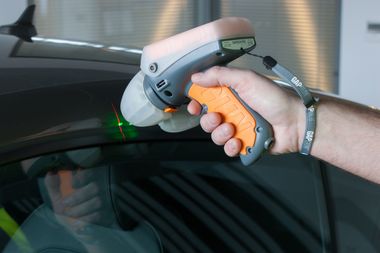
Measurement is conducted based on the guidance displayed on the handheld display.
As LEDs light up to guide the operator to the precise measurement orientation, measurement tasks can be completely smoothly.

Accumulating measurement data
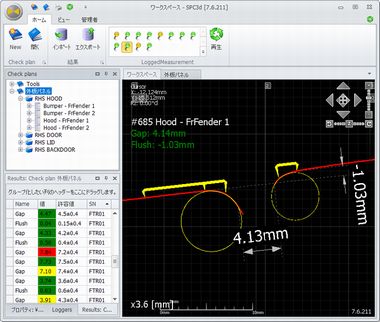
Measured data is automatically transmitted and saved through wireless or wired communications.
This completely eliminates the hassle of transcribing figures and transcription errors that occur using conventional methods.

Report Creation
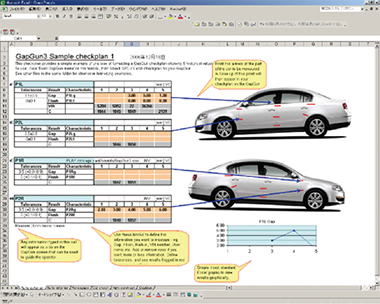
Transmitted measurement figures are automatically entered into inspection reports.
Thanks to GapGun’s superior measurement, navigation and communication functions, the time taken for inspection measurements can be reduced to a twentieth of what it was.
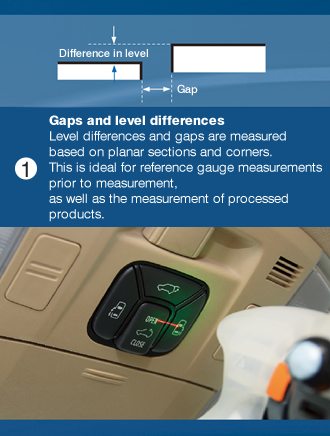
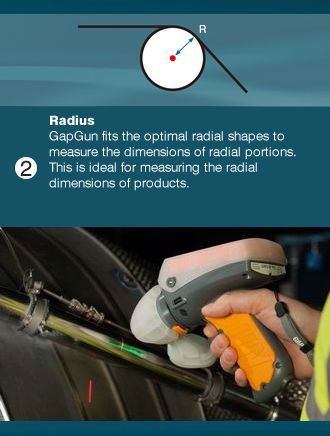
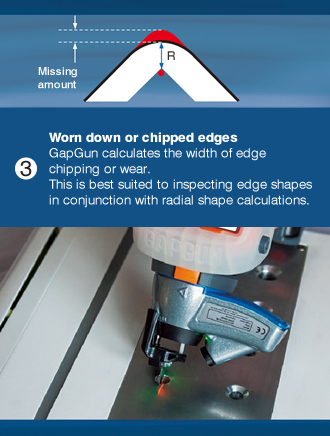
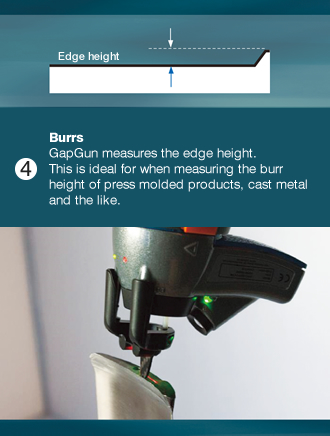
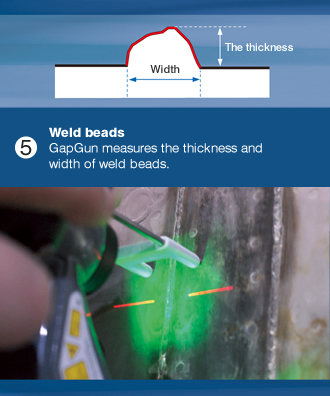
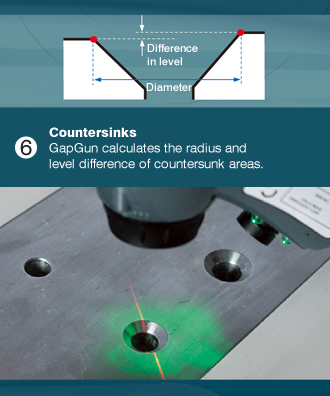
GapGun’s extensive measurement tools support the inspection of a vast range of shapes and dimensions.
In addition to more than 40 measurement tools, original measurement tools can also be created, making GapGun the best measurement system to use anywhere in the field.


Navigate measurement points with images
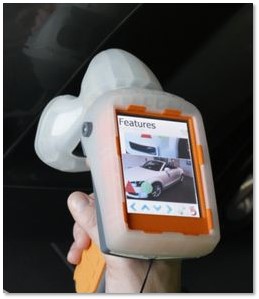
Measurement plans created on a PC can be automatically synched with multiple GapGun units over Wi-Fi to provide operators with guidance on measurement points. What’s more, measurement results are transmitted and saved over Wi-Fi or via the docking port, after which inspection reports are created automatically.
GapGun’s superior measurement performance and software system enables revolutionary and lightning quick inspections.
Utilize contact terminals to shorten task duration
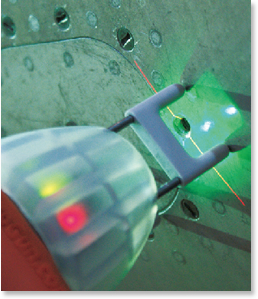
By attaching a standoff mechanism for contact measurement, GapGun is able to smoothly take repeated measurements from a certain distance and position, making it possible to reduce task duration by 15% compared with non-contact measurement. Use of the standoff is ideal for measuring small and complex shapes and for operator training.
While contactless measurement is required when working with soft, easily deformed materials, for example, as the standoff can be easily attached and removed, operators can employ the optimum measurement technique for each measurement, thereby maximizing their work efficiency.
Enjoy full control of handling with rotating head and extension attachments
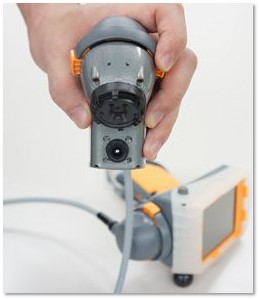
GapGun not only excels in terms of portability, but also in ease and freedom of handling. By freely rotating the sensor head portion in line with the direction of the cross section to be measured, operators can take measurements while adopting a stable posture.
Moreover, for the back of panels and measurement points inside narrow crevices where it isn’t possible to operate the handle due to obstructions, an extension attachment can be used to take measurements just as one would in normal areas.
Exchangeable heads for selectable resolution
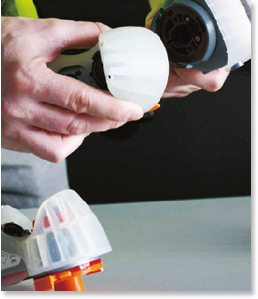
GapGun’s V-change sensor system features modularized sensor head components.
Four types of sensor head from a wide-angle type to an ultra-high resolution type can be selected and exactly exchange based on the object to be measured. In addition, each sensor has a built-in laser modulation function to deal with various surface states from carbon fiber and gloss-coated surfaces to chrome plating.
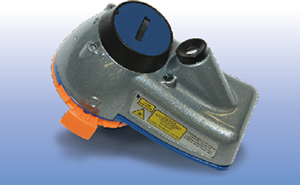
Ultra-high resolution head
- Field of view range:6.5mm(0.26″)
- Resolution:3µ:m(0.0001″)
[Scope of application]
Scratches, the chamfer, turbine blades, small gap, step, radius
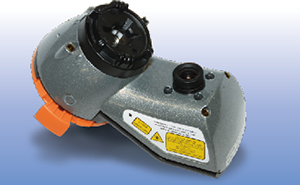
High resolution head
- Field of view range:25mm(1.0″)
- Resolution:11µm(0.0004″)
- Maximum gap-step:10mm(0.4″)
[Scope of application]
High precision gap, step, large zipper
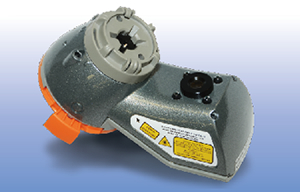
Standard head
- Field of view range:55mm(2.2″)
- Resolution:24µm(0.0010″)
- Maximum gap-step:25mm(1″)
[Scope of application]
Diverse gap, step, the seal portion, interior trim, corner R part
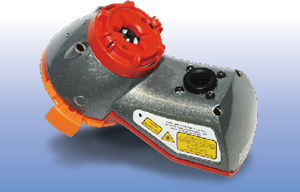
Wide-angle head
- Field of view range:90mm(3.5″)
- Resolution:40µm(0.0016″)
- Maximum gap-step:50mm (2″)
[Scope of application]
Large gap, step, cross-sectional dimension, CAD verification


